
Sunday, April 22, 2018
Cheap travel toothpaste
If your travel size toothpaste runs out, don't pay the ridiculous price for a new tube. For less money, you can refill it from a big one. You'll have to squeeze them together pretty hard to get a tight seal, but it's not difficult.

Friday, January 18, 2013
Sweat the big stuff
I was working on the alternator of my friend's Camaro the other day, and the wire fell apart in my hand. I wasn't planning on working on cars that day, and I was away from my own tools. He needed a new wire with connection lugs ASAP. I like to solder connections like these for the superior corrosion resistance and lower series resistance soldering has over crimping. (Crimping is a half-ass way out.) With only a bullshit pen iron, I made it happen.
We know from "common sense" that if you're cold, a blanket will warm you up. Nerds call this Newton's Law of Heating and Cooling. *1
Since heat energy can't be created or destroyed, heat in equals heat out. The heat we generate is the same as the heat we lose. The bullshit iron is only going to generate so much heat, so we need to figure out how to keep it. We need a blanket.
I used aluminum foil to keep the fresh air away from my wire. I put a dollop of solder on the wire (to help heat transfer from the iron) and heated the wire hot enough to sweat its own solder. It worked very well. Keeping the flux fumes nearby probably helped me avoid corrosion of the copper, too. I used a rag to insulate the wire away from the work area since copper is a fantastic conductor.

*1 Both convection and conduction are at play here, but convection is probably easier to grasp. To be rigorous, you should consider the series resistance of convection to the blanket and conduction through the blanket. To be impractically rigorous or to show off your new FEM toy, you would consider the air trapped by the blanket.
Friday, April 8, 2011
Finding a Dropped Screw
My house came with a satellite dish that I had no intention of using. One day I got sick of looking at it and decided to remove it, but the only free time I could find was late in the evening after work a couple months ago... in the winter... long before Daylight Saving. (I wanted to write this blog then, but it was very late at night, and I forgot about it since.)
In the process, as you might guess from the title, I dropped a screw. Luckily, it didn't pop out with any appreciable initial velocity. Even so, the slope of the roof gave it just enough horizontal movement on the way down to make it difficult to find in the dark grass below.
At first I tried to find it using my phone as a flashlight, but after five minutes combing through grass overdue for a mow, I came up with an idea that I hope others might find useful.
I decided to do a little simulation. I took an identical screw, placed it in roughly the initial location of the lost screw, and released it on purpose. You might think that I ended up with two missing screws instead of one, but the important difference was that I was able to carefully watch the second screw with prepared vigilance and with the phone flashlight. I found the first screw only a few inches away from the second.
Friday, January 28, 2011
A neat way to spackle
I'm working on painting our house, and I'm noticing that the previous owners left quite a few holes and dents in the walls. In other houses, I learned how to spackle walls that are basically flat, but these textured walls are new to me. I don't want to make too big of a flat area to cover up a small anchor hole, and re-texturing the walls afterwards seems like a less-than-elegant solution in my opinion. The trick, then, is to only apply spackle at the very spot where it is needed, avoiding the surrounding wall.


Sanding with this method will be a little more time-consuming, but if you have an orbital sander, it's probably worth the trouble to avoid re-texturing and matching. I cheated and touched up with a finger a little bit to knock out some of that time. Even if I finish with a putty knife, I know that by starting with the syringe, the hole has spackle inside of it and not just near the surface. I hope this would add a bit more strength to it when it sets (assuming it's not too thick to completely set). I'm not looking to anchor shelving from it, but I do enjoy the comfort of overkill in household repairs.
Cleanup is a cinch if you don't wait too long.

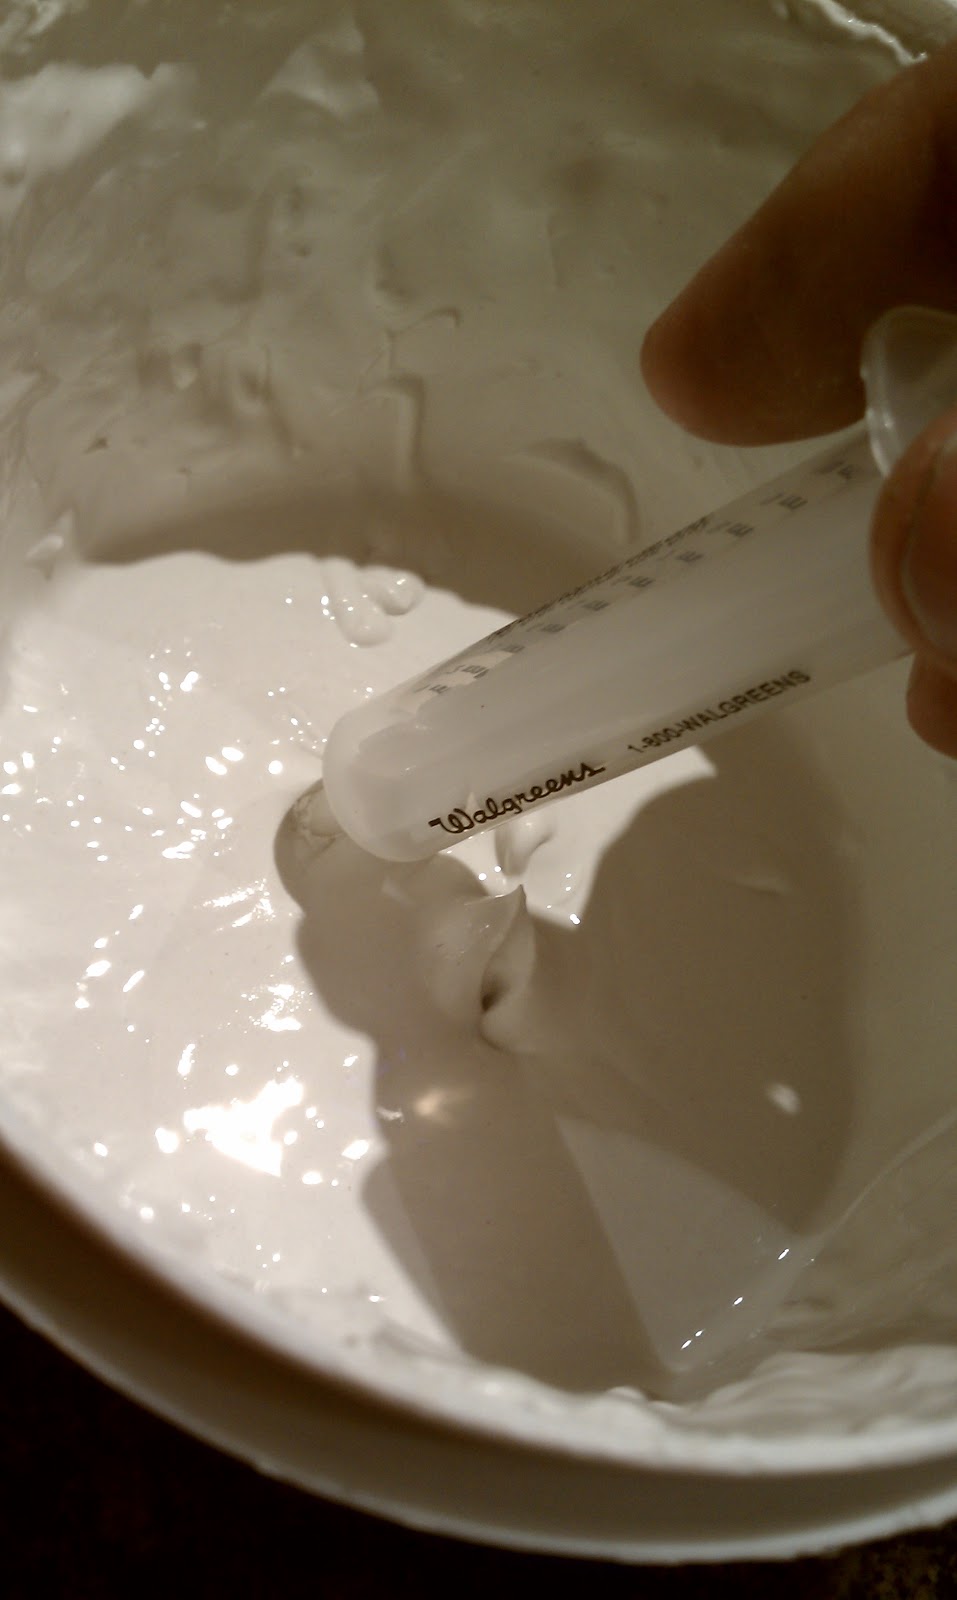
I came up with an idea that I hope will work. (I don't have the proof as of writing whether it does, but I'm hopeful.) I remember from my Walgreens days a syringe designed for oral and topical use. I couldn't find any for sale where I went tonight, but they had them behind the pharmacy counter for free, oddly enough. If this catches on, good luck finding them for free. I bet they'll always be on their website at the very least.
 |
| http://www.walgreens.com/store/c/walgreens-oral-syringe/ID=prod6001629-product |
It's a simple enough idea, really. Dip the syringe into the spackle and suck it up. With the high viscosity of the spackle, you'll find that you have to continually move the syringe around because the surrounding spackle doesn't flow into the hole as quickly as you can suck it out. If you get air into the syringe, tap the handle to move the bubble to the tip, and squeeze slowly until a little spackle comes out.
Another little trick is how you actually apply the spackle. You need to be sure to wet the outside of the hole you're trying to plug. If you don't get a large wet edge, the spackle will probably fall out when it sets. (It would suck if that happened with a fresh coat of paint on it.)
Disclaimer: We hate our old wall colors. ;-)


Cleanup is a cinch if you don't wait too long.

Wednesday, January 26, 2011
First Run of the CNC
Last night I got my CNC running for the first time. Before I was able to draw pictures by holding a pen, but last night I was finally able to machine something with a usable tool.
I posted a short video on YouTube, but the boring uncut video is here in all its unglory. The example here is simply a 1" square milled with a 1/4" square-shoulder bit. It skipped a lot of steps in the Y direction, but the X direction came out within 0.010". (I brought it to work the next day and measured it with calibrated tooling there.)
The "mill" is a Harbor Freight drill with a keyless chuck. I probably paid $12 for it. It rides on two ball-bearing rails that once supported a minivan back seat and is controlled by a toothed belt drive from a large inkjet printer. The X-Y table was given to me by a former coworker; I'm told it was once in an engraver.
The stepper motors are driven by ULN2064 Darlington arrays which are powered from an old AT computer power supply. The ICs are mounted to the inside of an aluminum plate on a hobby project box. I strategically drilled holes in the box, the plate, and the power supply so the power supply fan would draw air through the box and cool the ICs attached to the heatsink/cover plate. The X-Y motors have resistor arrays totaling 8 ohms to limit the current on each of them, but I believe I'll soon short them to increase the current (and still be within the motor specs if I remember correctly).
The Darlington arrays are controlled directly from the parallel port of an old computer (given to me by a current coworker). There is no intermediate logic; I'm maxed out at the 4 outputs required for each motor, and I can't drive a bipolar motor with the current configuration.
Software has been doable, but it's soon going to be a bitch. I started from scratch in QuickBasic 7.1 (with OUT and INP statements to talk to the port). I eventually want to write something that will automate the conversion of an STL file (or something of the like) to a nearly optimal tool path. STL files aren't that difficult to read, after all.
Subscribe to:
Posts (Atom)